Publish a Workflow
When the design of a Workflow has been completed and peer reviewed, the next step is to publish the Workflow. This prevents any changes from being made to the Workflow and enables distribution.
Optionally, the Workflow can be linked to a Pathway developed in About Pathway Developer.
- From the main dashboard select Workflow Designer.
The Workflow Designer view displays. - From Workflow Designer select the relevant Workflow from the list.Note - The Workflow must be in draft mode, the status displays in the lower left corner.

- Review the Workflow as required, then select the File
 menu and choose Save.
- To Publish, select the File menu again and choose Publish.

A notification displays "You are about to publish this document, do you wish to continue?".
- Select Yes to proceed.
The Publish Workflow pop-up displays. - Complete the Publish Workflow details:
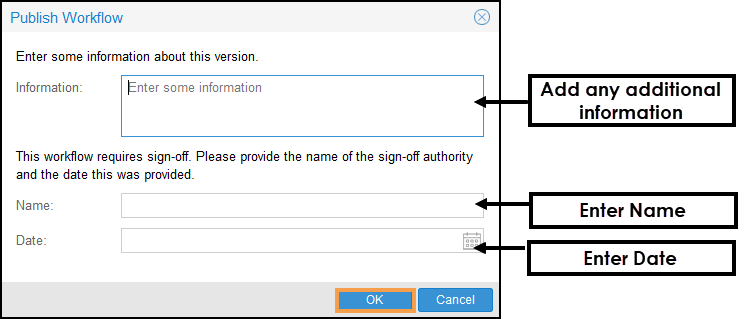
- Information
Optionally, enter any additional information. - Sign Off (mandatory)
Name - Enter the name of the sign-off authority.
Date - Select the Calendar to choose the date approval was granted.
Note - Sign Off can be removed in the Workflow Properties. See - Workflow Properties.
to choose the date approval was granted.
Note - Sign Off can be removed in the Workflow Properties. See - Workflow Properties.
- Information
- Select OK to Publish.
The status updates to PUBLISHED, and the Workflow can no longer be edited.
The Workflow web link can now be shared with users.
See - Sharing a Workflow.
The New Version option enables you to create a new version of the Workflow whilst users use the old version.